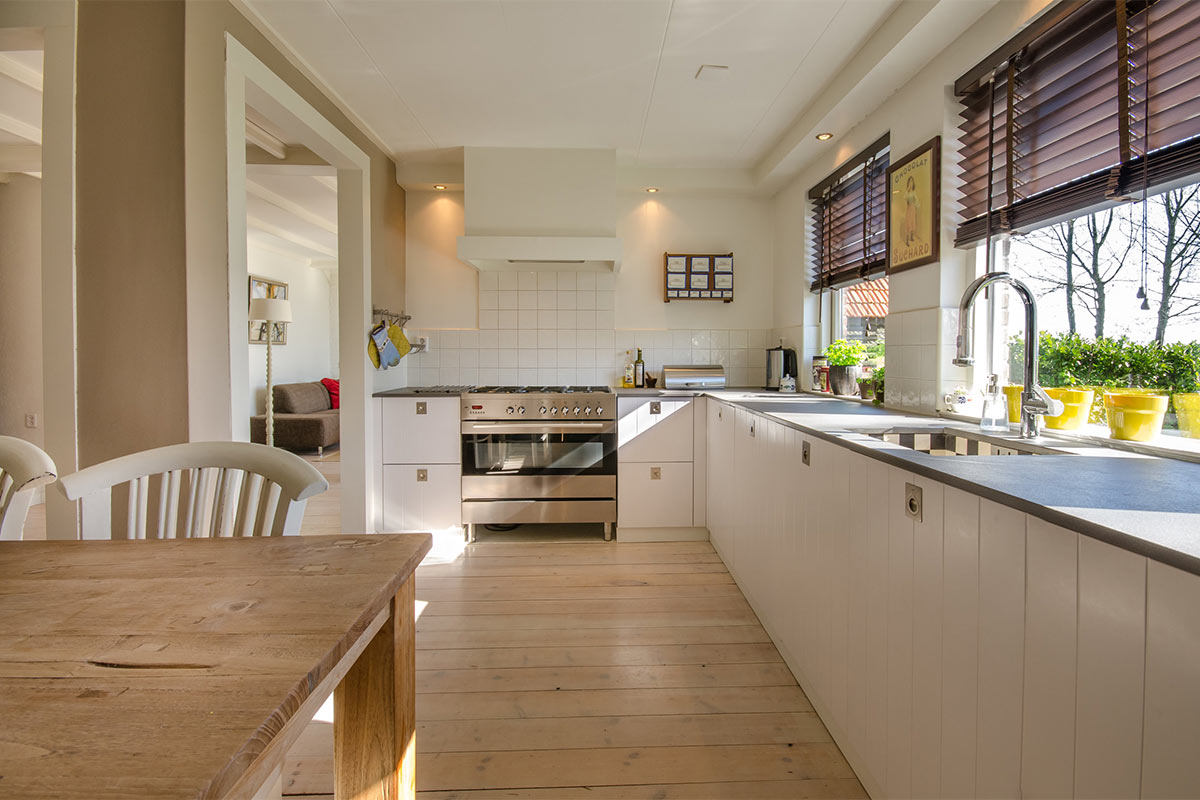
Replace Your Kitchen Fluorescents with LED Tubes or Panels
There are plenty of ways to upgrade your kitchen lights. From pendants over the kitchen island to LED strip lights under cabinets, the possibilities are endless. Yet if your kitchen doesn’t already boast trendy recessed lighting, it can be a bit daunting to decide what kind of light you want. It’s common in many kitchens to have linear fluorescent light fixtures to provide general lighting for the area. While these fixtures light the area just fine, there is an LED solution that allows you improve your light quality without overhauling your entire ceiling.
Upgrade with LED Tubes
Fluorescent T8 tubes are great until they’re not. Problems that evolve from the lights reaching the end of their life—the buzzing, flickering, and discoloration you may be familiar with—can have you reaching for the ladder or calling an electrician every few months. If you just want to dip your toes in the lighting upgrade water and keep your project contractor-free, you can swap those fussy fluorescents for LED tubes.
LED tubes come in three types: plug and play, direct wire, or hybrid. Of the three, plug and play or hybrid LEDs are the easier tube replacement options. For simple plug and play LEDs, twist and pull down on your old fluorescents to release them from the sockets. Then grab your LED tubes, push up, and twist them into place. You shouldn’t need to rewire or remove a thing; just change out the lamp. However, plug and play LEDs are mainly compatible with electronic instant start ballasts. That means you need to know what’s in your light fixture. Typically, an instant start ballast looks like thin black rectangular box and somewhere on the label it will say “instant start.” Double check the label on your ballast before installing.
An LED is very energy efficient and has a long lifespan, so much so that it can also outlast the life of the ballast. When a ballast stops working, so does the light. To avoid that hiccup, consider direct wire LEDs. Direct wire LED tubes require some wiring knowledge. That’s because a direct wire LED runs on the main power of your home, rather than using an external ballast to manage the power supply. If you’re not familiar with electrical wiring and safety, you’ll need to have a licensed electrician remove the existing ballast in your kitchen fixture and replace the sockets with non-shunted sockets if necessary. They will also rewire the fixture to only supply power to one side because, unless the installation instructions say otherwise, most direct wire LEDs just need power on one end of the tube. Removing the ballast and using a direct wire T8 gives you an advantage by eliminating a failure point.
The third type of LED tubes is a mix of the two technologies. Hybrid LED tubes can be installed like plug and play LEDs in the beginning. When the ballast fails, you can remove it, rewire the fixture, and re-insert the tubes which now operate as direct wire LEDs. You get the best of both technologies.
There are a couple of things to note when choosing LED tubes. Measure the length of your linear fluorescent tubes to determine how long your LED tubes should be. Common LED tubes lengths include 2, 3, 4, and 8-foot lengths. If your tubes look a little slender, measure their diameter. A diameter of 5/8ths of an inch indicates you have a T5 tube instead the 1-inch diameter of a T8. T5 LED tubes are often available in 2, 3, and 4-foot lengths. Also note that the sockets of T5 and T8 tubes have different pin spacing, so they are not interchangeable.
You will also want to pay attention to the color temperature of your LED tubes. Color temperature tells you what color your light will be and is measured in Kelvin (K). The higher the Kelvin number, the more blue and bright the light seems; the lower end of the Kelvin spectrum contains yellow hues and is perceived as more dim. Use color temperatures between 3000K and 3900K (aka “halogen white”) in kitchens with warm or earth tones as the main colors. Cool white colors, ranging from about 4000K to 4900K, work well with bright blues and greens or black and white kitchens. Gray walls and décor depends on the undertones—go lower for red or yellow-based grays and use higher color temperatures for blue or green-based grays.
Upgrade with LED Panels
Building a new home? Rather than using fluorescent fixtures as overhead lighting in your culinary retreat, consider LED panels. Looking up, an LED panel resembles a fluorescent fixture with a lens covering. Yet LED panels are bringing energy-saving and efficiency into the 21st century. The panels are super thin and lightweight, weighing about seven pounds with an LED array housing that has the thickness of a picture frame. Because of the slim design, a handy homeowner could install this fixture themselves since the LED driver is built-in, streamlining the process. These panels deliver light from edge to edge, eliminating dark spots and allowing you to use fewer fixtures. They also feature a prismatic (think crystals) lens designed to give you even light and reduce glare on your countertops and cabinets. Still, out of all the advantages of LED panels, the best one is the price. You can purchase LED panels at a cost similar to fluorescent fixtures. Now how’s that for progress.
