5 Easy Repurposing Projects
For as long as people have had need for one things and lack of need for another, repurposing has been the way they have gone about remedying the situation. And though repurposing can be used in a number of contexts, as of late more and more people are getting creative and using it within their homes. Spaces can be overhauled as unique pieces help to change up the tone or character of the room. And though so many old and used products around our homes can be repurposed, it’s not always an easy task transforming them into something new. So to help, consider these five projects that should get your creative juices flowing and hopefully get you started with repurposing.
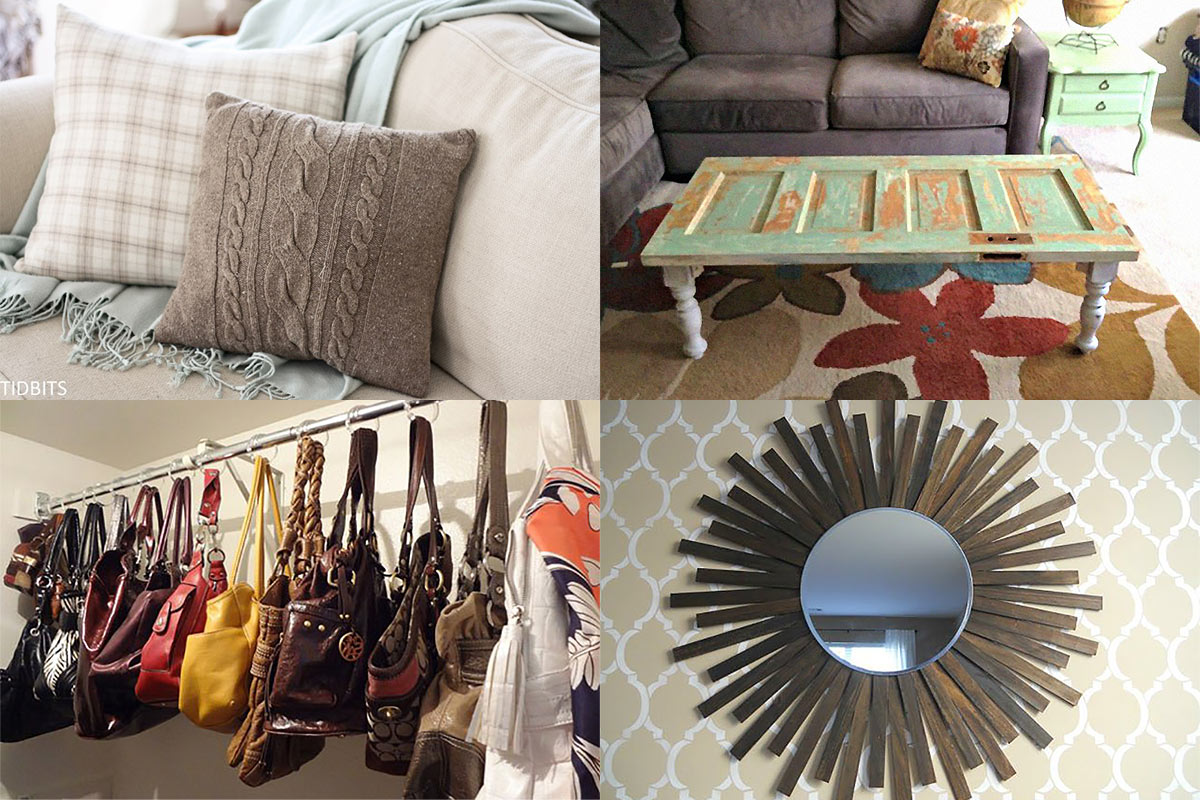
Sweater Pillow
The intricate patterns in sweaters naturally catch our eye and now you can use them as a focal point in your room. To create your very own sweater pillow, you can use an old sweater from your closet or pick up a cheap one from the store or online. Start by cleaning it, then flip it inside out. Lay out the sweater and put your pillow to the edge so that sweater engulfs three sides of the pillow. From there, mark off the margins of the pillow and cut the sweater so that you have the two halves of your new case. Sew them together(making sure to keep them inside out) and leave a hole through which you’ll insert the pillow. From there, flip the case so that the right side is facing back out, then stich the remaining opening shut.
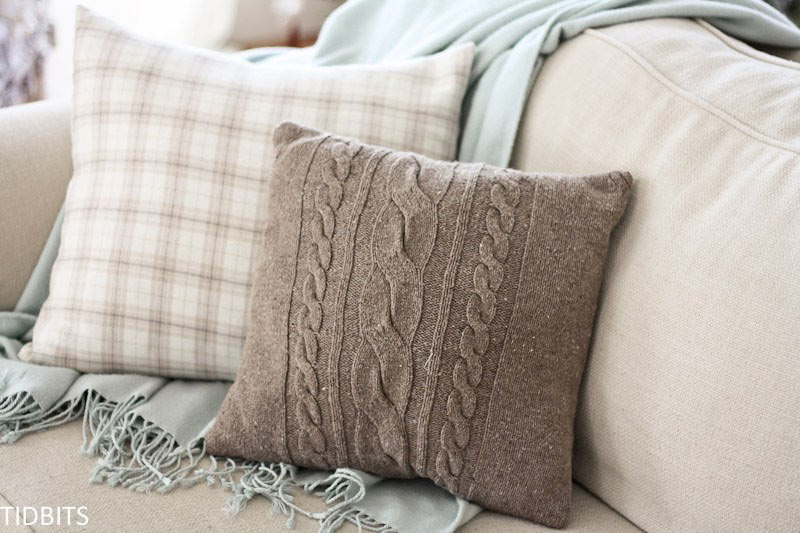
Photo Credit: Tidbits
Door Table
Doors make versatile tools in repurposing and can be converted into eye-catching furniture all around the room. Instead of paying some custom home builder to fully furnish a new house, consider taking out the tool kit and making some furniture of your own. This particular project is easiest to do when you already have the table frame(connected legs and body) and can measure in order to get the dimensions. When marking off the door, you’ll want to leave it a few inches wider than the frame to allow a bit of it to hang off. Three inches is recommended. From there, sand and clean the door, then mark it off. Cut the door using a circular saw and then apply a layer of wax. After buffing out that layer, you’ll want to apply a second coat. You can use L-brackets in the corners of the door to attach the frame. Some people leave it like that but if you want to put finishing touches on it, you can place a glass tabletop on the door to create a smooth top surface.
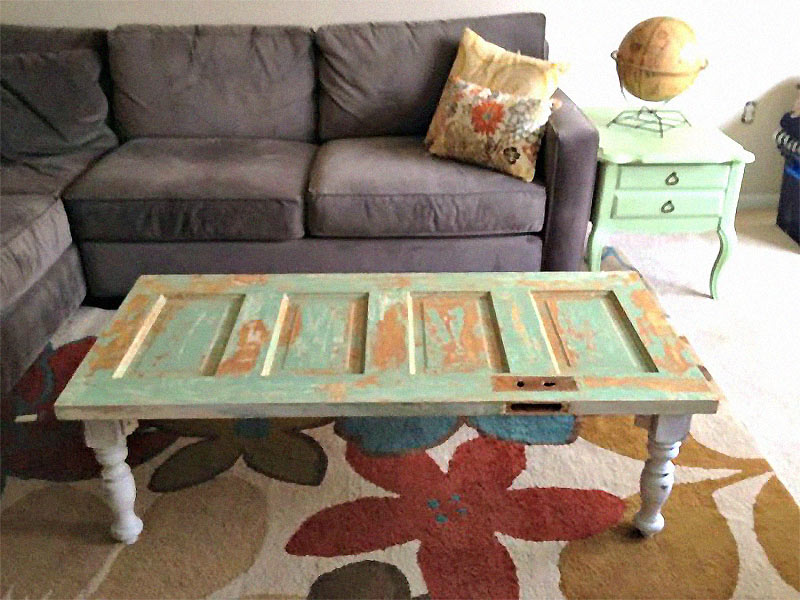
Photo Credit: Pinterest
Shower Hooks In The Closet
This is both a repurposing idea and a life hack that will prove to be particularly useful for people who possess a large number of bags or purses. Shower hooks come in a number of varieties and can perform the same tasks as a carabiner, all while looking just a bit more attractive. For people who are looking to spruce up their closets and find a convenient place for a purse or handbag, enlist the help of a shower hook. Not only will it help you to keep your things organized, it should also aid you in picking the perfect bag for the whatever occasion.

Photo Credit: The Frugal Female
Teacup Pots
Sometimes we find ourselves with teacups that we no longer have need for. Whether it is a tiny chip or we’ve just gotten a new set, these teacups do not have to be discarded and can be put to other use in our homes. One creative way to repurpose the cups is to turn them into mini house plant pots. Their size allows them to be placed in a number locations while their ornate appearance can add a level of sophistication to any space. They are perfect for holding tiny plants like Baby toes (Fenestraria rhopalophylla) or Echeveria Pulidonis and act as a great conversation starter with house guests.
Mirror Borders
Giving ordinary objects a bit of flair is any easy way repurposed products can be used. One instance where this can be useful is when dealing with paint stirrers. In particular, they can make attractive borders, especially for hanging pieces like mirrors. You may have some extra stirrers lying around your house from a recent room recolor but if not, they can found at any hardware store. Once you have the stirrers in hand, stain them. Staining is permanent, so be very careful. Always be sure to test the stain before use and then apply it in a thin coat. If you are using an oil-based stain, stir before application. Try and do this outside because there will be fumes. Once you have an even coat and you’ve allowed it to dry, begin to wipe off the stain. If you want a lighter shade, only keep it on for a short time but to achieve a darker tone, keep it on a bit longer. From there, you can use wood glue to attach the stirrers to the mirror.

Photo Credit: Decorating Cents
About the Author
Heather Bradford is a DIY and Home Improvement blogger who specializes in providing useful tips to beautify and optimize the space of a home. She posts new design tips regularly on her blog simple-outdoor.com.
